Constructing the Corecell dodger
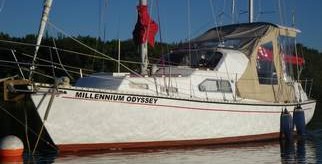
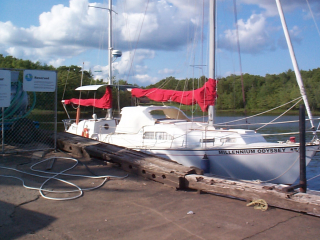
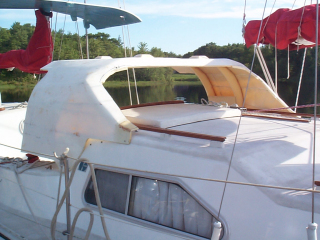
The new Corecell dodger
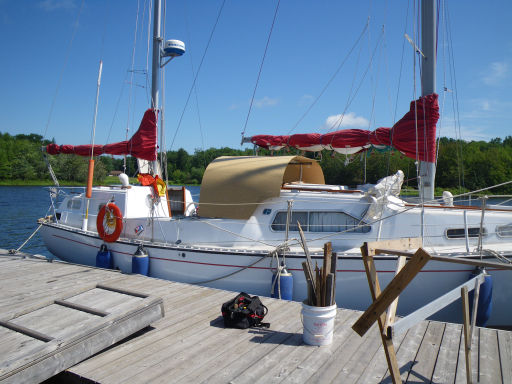
The new hard dodger made from Corecell
Originally I had a page for both the dodger and the bimini. The bimini had to be rough fitted before the rig came down so I made a big push to get that done. We did the rough pattern at the same time but concentrated on the bimini. If I was waiting for epoxy to dry on the bimini I might work on the dodger but the bimini was the focus. Now it’s time to look at the dodger.
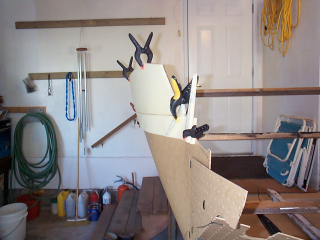
Once we had the basic shape from the pegboard cable tied together we were able to use boards cut to the right length to suck the sides into the right width.
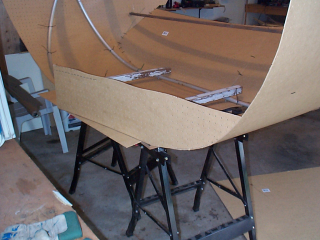
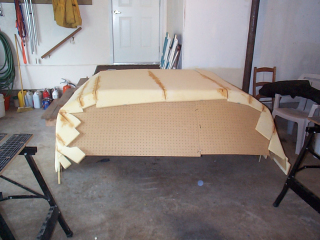
The following picture shows the dodger frame upside down showing how I got the curve for the bimini but the beyond the curve you can see the boards and the inside structure of the pegboard prototype.
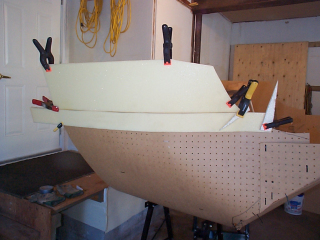
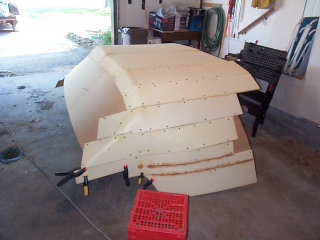
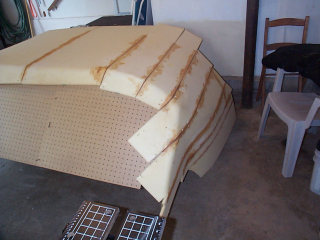
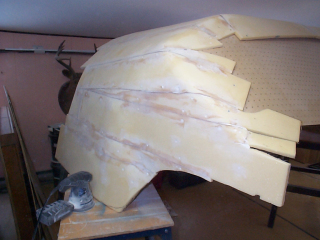
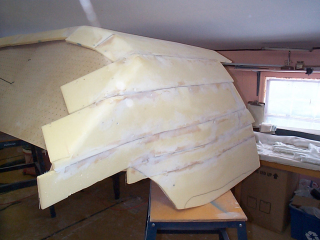
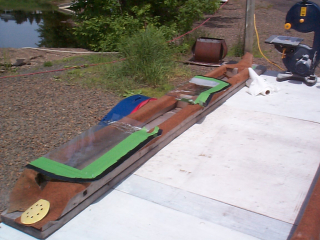
Once we found that there was a problem with our thermoforming oven and we had success with forming strips I started to cover the form with small strips of corecell and used a heat gun to from them in place. I used extra pieces to spread the clamping load so the clamps wouldn’t dent the soft corecell.
You can see the bottom strip above has to actually take an ‘S’ shape with a twist as well.
We were able to heat pieces and curve them into the right shape to hold them we screwed them with gyproc screws to the pegboard. I was using the fine thread version of the screws and they worked better than I thought they were going to.
I am not worried about getting the shape exactly right. I am going to build the dodger too big and then trim it to shape when I get the dodger to the boat.
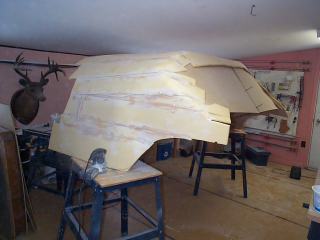
Once the strips were in place with gyproc screws I mixed up epoxy with a filleting blend to bond the strips into a single unit. After the epoxy hardened I was able to remove most of the screws and fill the holes.
Looking at the basic shell it is easy to see that I started at one end and worked to the other end. If I were doing it again I would probably start with cutting three or four inch strips and build it up equally from both sides just to make it more even.
The front of the dodger is going to be all lexan. Once I get the dodger fitted to the boat I can trim the excess pieces off so I’m not worried about getting a perfect shape at this point.
I have made no attempt to trim the back to shape either. The dodger can be trimmed to shape once we get the dodger to the boat. I want to have as much cover as I can so to get the final shape I’m going to have to wait until the rig is back up in the summer. I want to be able to have the main sheet to be able to swing freely from one side to the other without contacting the dodger but I want to have as much of the cockpit covered by the dodger as well.
I’ll wait to do the final trim when I have the rig up and the dodger fitted.
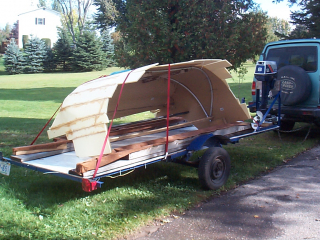
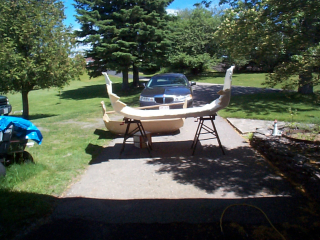
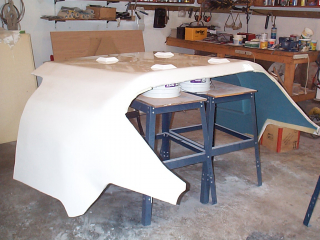
We took the rough fitted dodger to the boatyard to see if it we could make it work. The dodger without any skin on it proved too pliable to be able to get an exact fitting. The basic shape is good and we will have to do a little bit of trimming to get the shape correct for the main sheet, the areas for the jib sheets leading to winches, and where the front corresponds to the shape of the forward cabin.
The trip to the boatyard was a bit of a failure. The shell was just too flexible for two people to handle and until it gets stiffened by adding a skin I don’t think we can get an accurate shape.
So it was back to the shop for covering and smoothing and with the boat coming out for the winter we would have to wait until next season to get the “perfect” shape.
I was impressed at how well the shell held up to winds hitting it side on at 60-70 kph. It did take a little wear but it didn’t fly to pieces by any means.
One of the things doing the bimini taught me was to do as much smoothing as possible before adding the fiberglass skin. It’s impossible to do it after so you have to smooth it before you put the glass on.
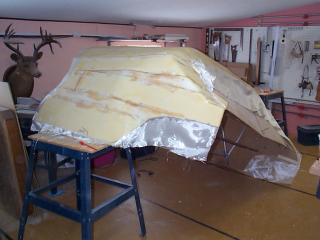
I mixed up a thick lightweight fairing epoxy paste and covered the worst of it before sanding it down to a reasonable level. It won’t be perfect by any means but it will be a lot better than if I didn’t do any fairing before I put the skin on.
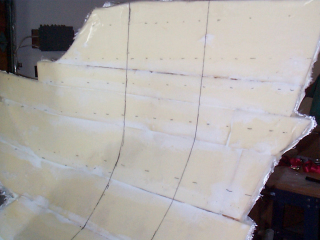
The port side of the dodger that has had some of the fairing done. The black line on the bottom is the rough line for the cutout for the jib sheet leading to the winch. This will have to wait until the rig is up and the shell is fitted to the hull.
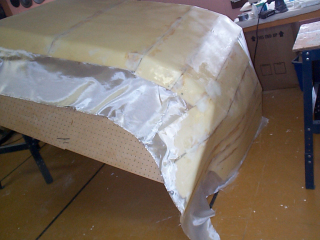
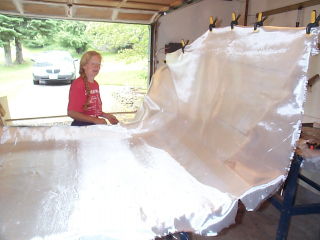
The forward edge of the shell has a concave shape that made it difficult to get the fiberglass to rest on it. By propping the dodger up on one side the glass was able to rest on the shell.
I ended up doing one side on one day and the other side on another. I was worried about the shell being distorted but with the boards on the inside of the framing I think it was ok.
This picture shows the concave section better. I think it worked out ok.
After adding a second skin, I’ve started the fairing. I was using a small random orbital sander to do the fairing and it was taking forever. I switched over to see if the Makita sander would do the job and not damage it. I did make a mistake in one small area and scalped the two layers of glass off so quickly it was hard to believe. But the course sanding was done in about an hour.
I’ll hit it again with the random orbital sander to bring it down to 150 grit but the Makita did a great job of getting it down to where the orbital will do a better job.
A Beautiful Day!
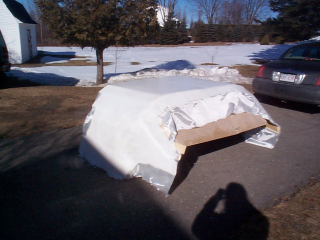
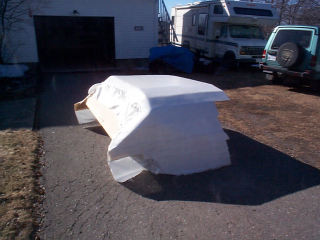
Today turned out to be one of the nicest of the spring and warm enough to put the primer on even if there is a large snowbank in the back of the picture. (Snow this time of year is normally higher than the large snowbank in a uniform layer over the whole area.)
I did find a few places that were in need of filling but the primer will show a few more so here is the first coat of primer
After a bit of filling and sanding the next step was to pop the hard dodger off of the frame and glass the interior.
Glassing the interior of the dodger is much more complicated that I was expecting because of the sloped surfaces.
One of the problems we ran into was trying to figure out where things were on the interior of the dodger. It was nearly impossible to do so without a reference so we added two reference lines to to help us get the places we wanted.
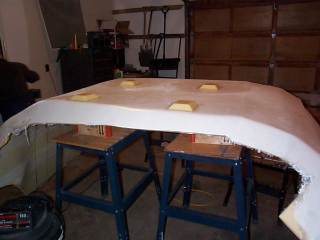
We were going to mount the solar panel on the top of the dodger so that meant that we needed a spots for the panel to rest. This is partly to hide the fact that we didn’t get the surface perfectly straight. The panel is so if we lift it off the dodger a bit it will hide any discrepancies.
The next step was to put the dodger on the boat with the rig up and cut the shape we needed. This picture shows the bimini up, with the dodger in place. You can see the rough edges at the stern of the dodger.
THe dodger trimmed to shape with the interior lockers and support visible on the port side. Note that the very front of the locker is still cut square and not shaped to fit the hull. You can see black lines where we are going to be trimming to get the window shapes.
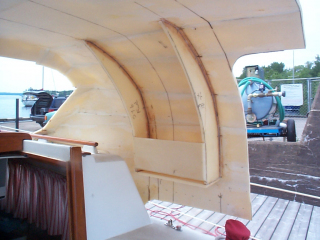
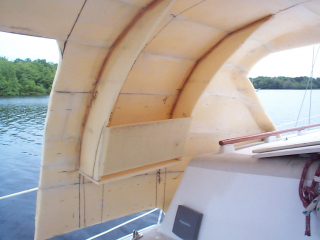
A couple pics showing the lockers
After removing the dodger we took it back to the garage, painted the interior blue, cut the place for the glass, and did final priming an painting
After installing the dodger on the boat we had to put lexan side panels in. THis required the lexan to be bent and shaped into the right shape.
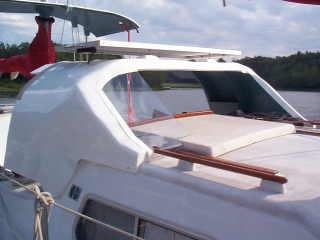
The lexan window in place with the solar panel on. The beige strips at the back is where the enclosure zips into place.
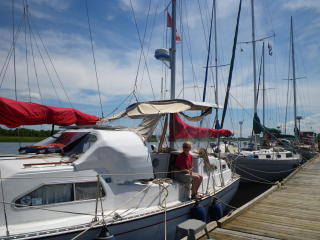
The completed version of the dodger and bimini complete with lexan windshield, the dodger gallery has more pictures than are in this web page.
